Your Source for Piano Tuning Tools & Repair Essentials
We sell mostly Schaff piano tuning tools, supplies, and parts. Schaff, in business since 1884, purchased the Hale line of tools in 2000. The Hale piano tuning lever (sometimes referred to as a tuning hammer or piano tuning wrench) is a high-quality, long-lasting lever trusted by technicians everywhere. Remember, quality piano tuning tools and parts will last you for years.
Tuning Lever Terminology
By the way, piano tuners and techs do not commonly use the term "piano tuning wrench." This tool is almost always described as a tuning lever by Schaff and other suppliers. And some older piano technicians may refer to it as a "tuning hammer," although "lever" is the common term.
Our Experience With Schaff Tools
Schaff tuning tools are an excellent choice. We have used them for forty-five years, and we are quite satisfied with their high quality and strength. Many of those tools we bought 40+ years ago are still in use.
Tools for Beginning Technicians
Beginning piano tuners can purchase a student kit. This kit includes a student tuning lever, a C tuning fork, rubber mutes, and a temperament strip. You can learn to tune a piano using this kit. Then later, purchase a professional extension tuning lever.
Call 901-827-3609 to order.
Items for Piano Owners
Piano owners can also purchase items, including brass desk knobs (for the fallboard or key cover) and plastic snap-on elbows. Elbow replacement is a piano repair that an untrained person can do at home! Be sure to read our instructions at the bottom of this page.
We can order you a new piano bench in case your instrument does not have its own keyboard bench. If you need something not listed here, please contact us for either sales or technical help.
Tool Checklist for Technicians
Tuner technicians, beginner or experienced, should have a checklist for their piano tuning tools, supplies, and parts. Always carry extra felt in a variety of sizes and types. And don't forget the wood glue. Next, be sure you have plenty of bass strings and music wire, plus hammer shanks and a good drill. And, of course, carry a small variety of piano parts. We know these suggestions sound routine, but sometimes we forget stuff! Although we've been piano tuners so long, we probably could tune a fish.
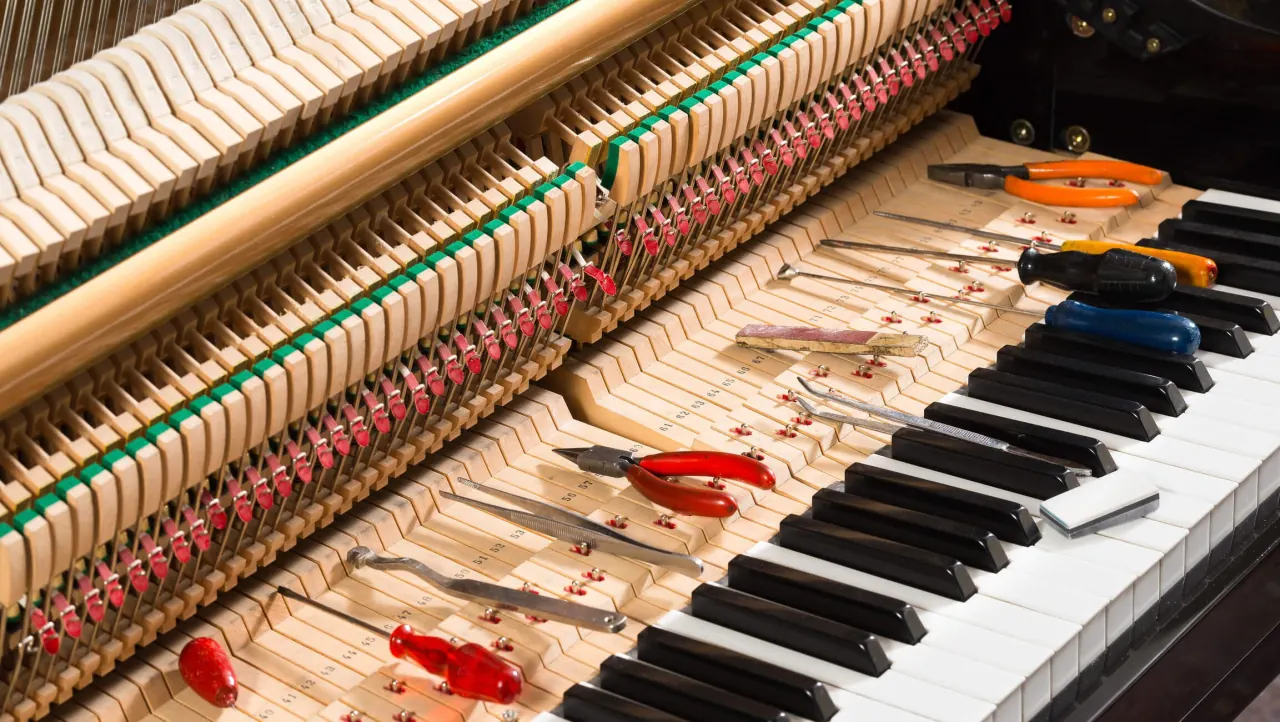
Basic Tools You'll Need
More basic tools you will need are a flexible screw pickup and holding tool. A 14" one is great, but it is becoming harder to find them this length. Shorter ones are okay. Basic screwdrivers, straight and Phillips, plus needle-nose pliers, are a necessity for piano tuning and repair. Also, get a full-size pair of pliers and a hammer. No, we are not going to hit the piano if it doesn't do right. Sometimes we'd like to. Some piano repairs do require a hammer.
Another simple and very important tool is a light of some sort. We think of a flashlight as sort of a piano tuning tool. Without it, you won't be able to see down inside an action very well, so always carry 2 flashlights and extra batteries. A small portable electric light with its own base or stand is good while you are tuning. Although lately we have had trouble finding a small electric lamp — they are all too big.
Essential Equipment Summary
All of the above items are just the basic and necessary piano tuning gear needed for everyday use by piano technicians.
Need Service?
If you require piano tuning and repair service in Memphis, Tennessee, call (901) 827-3609.
We offer top-quality service to you and your piano. Let the wrong person into your house, and you may need a piano tuning repair!

Order Requirements
PLEASE NOTE: ALL ORDERS FOR PIANO TUNING TOOLS AND SUPPLIES MUST BE $25.00 OR MORE.
Tool Buying Guide
Your choice of piano tuning tools is a very important decision. You should be very selective in picking which piano tuning tools to purchase if you are new to the piano tuning business. Select only the tools that you will need as a beginner. So how do you know what to buy? Here is a short list.
- Tuning Lever or Hammer
- Tuning Fork—We suggest a C fork
- Temperament Strip—Medium thick
- Rubber Mutes—At least 4 with wire handles
- Upright Piano Regulating Tool Kit—This kit has a 7" offset damper regulator and a 7" regulating screwdriver, a spoon bender, a back check regulator, an offset key spacer, and two straight screwdrivers.
Plus, the tool handle that holds each tool with a compressing nut. The damper regulator is for adjusting ringing dampers. The regulating screwdriver is for adjusting the jack let-off button. The spoon bender is for bending the spoon-shaped metal piece on the back of the whippen. The back check regulator is for bending the back check wire. The offset spacer is for spacing the keys.
Although the slot in the head of the offset key spacer makes it very useful for pushing hammer springs back onto the hammer butt. Piano tuning tools are not cheap. This is one reason we also suggest keeping it light.
Besides, there are dozens and dozens of specialized piano tuning tools and devices. Most of them you may never use.
Now for the reasons we display the offset key spacer and combination handle above to be purchased together.
Besides keeping our expenses down, we use this 2-piece set to make our tuning case lighter. Since we're not as young as we used to be, carrying fewer tools is easier on our backs.
If you are young, maybe carrying a heavy tool kit doesn't bother you. If so, then go ahead and buy the complete upright piano regulating kit.
What we're saying here is that the key spacer (with handle) can substitute for some of the items in the full kit. Remember, all of these piano tuning tools plus more can fit into the combination handle with a locking nut.
So once you have the handle, you can later buy more piano tuning tools that fit into it as needed.
- Damper Regulator Substitute: Use the open slot at the end of the key spacer as a damper regulator. Basically, both are shaped about the same, and with a little practice, this works just as well.
- Regulating Screwdriver Substitute: Use the slotted end to reach into the action to turn the let-off screw. Be very careful not to bend or break off this part. It actually looks more like a hook than a screw. This works almost as well as the regulating screwdriver, except that it can slip off. If the key spacer does slip off the screw, just start again. You will also have to make shorter turns. Then lift the tool, replace it, and turn again. This is necessary so that one does not break off the screw.
- Spoon Bender Notes: There is no substitute for this piano tuning tool. It can also be very difficult to use. It may take a lot of extra practice to correctly use this item. If one is planning to do a lot of upright piano regulating for a factory or shop, then it is necessary to learn how to use this tool. If planning to only do home and church piano tuning, minor repair, and on-the-spot adjustments, then the spoon bender is not needed. We've never really used this device. It has even come to our attention that this particular item is not very effective. Some techs make their own version. Anyway, most on-the-spot damper lever adjusting (which is what a spoon bender is for) can be done up top below the damper block with—guess what?—the offset key spacer, which of course can also be used as an "offset key spacer." Plus, don't forget to use it to slip hammer springs back in place.
- Back Check Regulator Substitute: Just use your fingers. You just saved $15.00 right there. Plus, fingers are quicker. Saving money is a big reason we use these substitutions.
- Screwdrivers: We bet you already have a straight-blade screwdriver, so these may not be needed. You will need a Phillips to take some pianos apart. We do suggest getting 8" long blades.
So, there you have it. The combination handle and offset key spacer—half the price of the whole kit. Another tip: just leave the spacer in the handle. Reach into your kit and grab it.
That's faster than unscrewing the nut, pulling out that piano tuning tool, reaching into your case, slipping another one in, and then tightening it before use. Grab and go is a lot faster.
Please remember that using any of these piano tuning tools properly will take study and practice. This idea of substituting one tool for another is strictly our personal approach. We have 50 years of experience in the piano tuning business.
Nevertheless, what works for us may not work for you. Always follow the recommended regulatory procedures. And always pay careful attention to what you are doing. As a beginner, much of your learning may be on-the-job training.
Use Schaff piano tuning products and be satisfied with the strength and quality. In four and a half decades of using these American-made products, only one of them has broken—and that was after hundreds of hours of use.
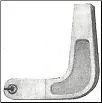
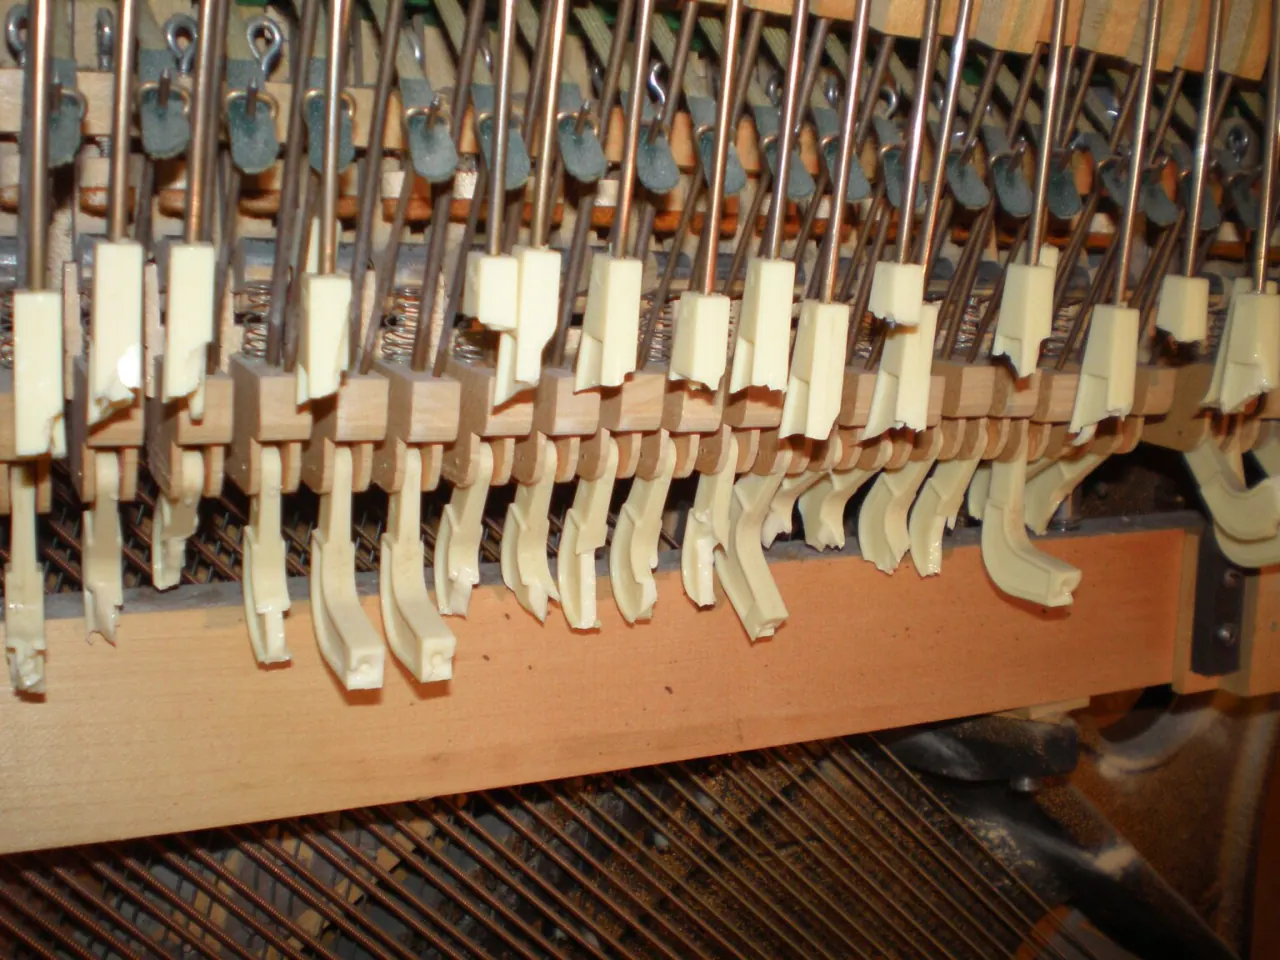

Photo above — Tip of screwdriver points toward the pin where you must insert slotted end of elbow, after removing broken pieces of old elbow.
Be careful. Do not crack the wood parts.

Photo above — Hold long metal rod with pliers. Twist new elbow onto rod clockwise. Several turns.
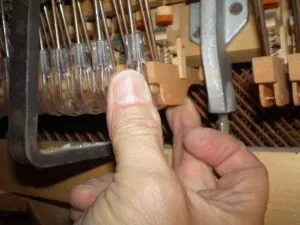
Photo above — Push slotted end of elbow onto center pin. Hold wood part (whippen) tight with middle finger to the rear. See pic.
Hold firmly so as not to crack wood whippen flange in the back. Hold Vagias elbow with thumb and push elbow onto center pin.
If it does not go on easy, back off and try again. Aim slot in elbow dead center to center pin. If it is still difficult, read instructions again. Or, spread felt in slot with a knife — careful, do not cut the felt.
More Coming Soon
Check back often. We will be adding more helpful tips on piano tuning and repair, plus more tools and other products.
Instructions on Replacing Vagias Snap-On Drop Lifter Elbows
Plastic with a slot on the bushed end of elbows for easy installation. Just push it on to the center pin. 1-7/16" overall height. These snap-on plastic elbows are usually clear plastic.
Here are some instructions for those who have never done a snap-on elbow replacement. This part is only found on spinet pianos which have what is called a "drop action." You must remove the music desk (the casing part that holds the music rack) and the bottom board (which is the large panel behind the pedals). If parts other than the elbows are missing or broken, you should call a piano technician. Also the bridle straps, some or all, could be broken. This job is not included in these instructions. Broken bridle straps would have an effect on the outcome of this elbow replacement. Only a qualified tech should do strap replacements.
Look inside the piano under the key bed. You should see some broken elbows. It is not likely that all 88 will be broken, but it is possible. Using a standard pair of needle nose pliers, grab the old unbroken elbows in the center with just the very tip of the pliers. Now squeeze. The old elbow should split apart. Remember this is 65 to 85 year old plastic — it tends to grow weak and crystallize with age. If it does not break at first, keep trying. CAUTION: A few may have already been replaced. Not all replacements are clear plastic. Some older replacements may be an off-white color. New or newer plastic snap-on elbows will not easily break using pliers. Look at them carefully and decide. You may leave the newer ones and just replace the old ones.
All of the old broken elbows will now be hanging down from the whippen (the main part of the action which holds the plastic elbow). Carefully bust away the remaining part of the elbow. If a piece remains around the center pin (the small round metal pin inside the whippen that the slotted end of the elbow hooks onto), use the tip of your pliers and squeeze in a vertical position to break away this small piece. Do not rotate or twist your pliers side to side! This might crack the whippen, and you do not want that to happen. In short, do not put any pressure against the wood whippen at all. Use a small straight-blade screwdriver to carefully push out any plastic residue or red felt trapped behind the center pin.
Now stand up and look inside your piano at the end of the keys. Lift out the sticker (the long metal rod). Break away the old plastic that you see on one end. Remove plastic residue from the threads with your fingernail. Grip the sticker with a full-size pair of pliers. Now thread the new plastic elbow onto the sticker (metal rod). Slip it back onto the end of the key. Get back underneath the key bed and, while holding or supporting the whippen from the rear (do not squeeze the whippen from underneath — this may crack it), carefully push the slotted end of the elbow onto the center pin. If it does not want to go on easy, pull the sticker out and spread the bushing in the slot with a small screwdriver or knife (do not cut the felt), and replace. In order to make the key play properly you may now have to adjust the round button that hooks the sticker to the end of the key. John always lifts the sticker up out of the key and holds it with one hand while turning the button with the other when making this adjustment. Turn the button with your fingers to adjust. Do not use pliers to adjust the button because it may crush or break. Check for lost motion and hammer alignment. You have just installed your first set of Vagias snap-on drop lifter elbows for spinet pianos.